Are you a golf enthusiast longing to improve your game without leaving the comfort of your home? Look no further! With this simple guide, you’ll learn how to build the best putting greens in your backyard. By following these step-by-step instructions, you’ll have the perfect practice area to sharpen your putting skills whenever you desire. So, let’s get started!
Plan and Measure:
Begin by selecting a suitable area in your backyard for the putting green. Measure the dimensions you have available and consider the shape and design you want. Sketch out a rough plan and mark any potential obstacles, such as trees or sprinklers, that might need to be relocated or avoided during the installation process.
Clear and Level the Area:
Clear the designated area of any debris, rocks, or vegetation. Use a rake or shovel to level the ground, ensuring a smooth surface for your putting green. It’s crucial to remove any bumps or unevenness, as this will affect the ball’s roll and your putting accuracy.
Install the Base:
Create a sturdy base for the best artificial turf by laying down a weed barrier fabric. This will prevent any unwanted plants or weeds from growing through the artificial grass. Add a layer of decomposed granite or crushed stone on top of the fabric, spreading it evenly and compacting it with a hand tamper.
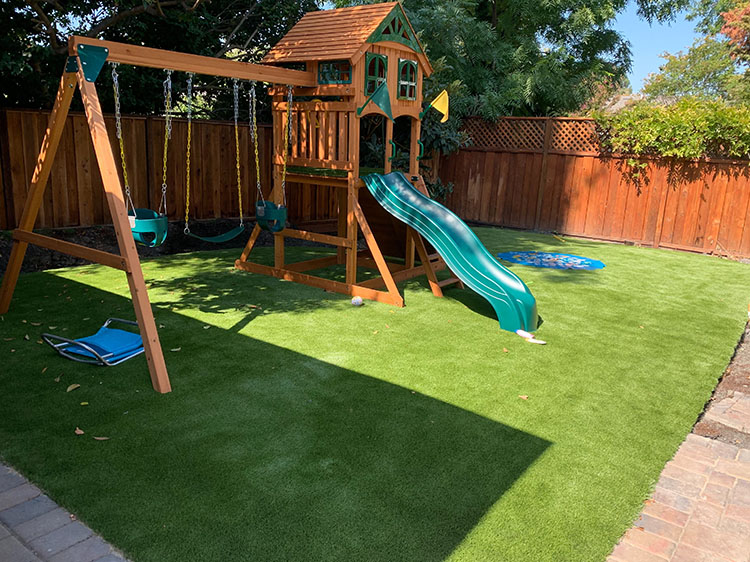
Choose and Install Artificial Grass:
Select high-quality artificial grass specifically designed for putting greens. Measure and cut the turf to fit the dimensions of your base. Secure the edges with landscape spikes or adhesive. Remember to brush the grass fibers against the grain to ensure a natural look and optimal putting experience.
Add Infill Material:
To provide the right amount of cushioning and enhance ball roll, spread infill material evenly across the best artificial turf in San Jose. Silica sand or a specialized putting green infill made of recycled rubber are popular choices. Use a stiff broom or power brush to work the infill material into the grass fibers, ensuring it reaches the base.
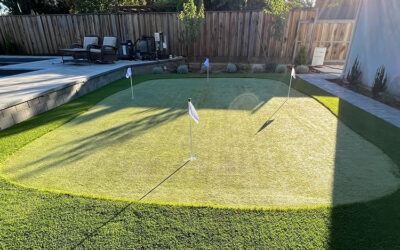
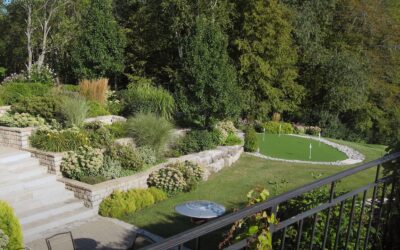
Create Holes and Flags:
Using a hole cutter or a drill with a suitable attachment, create holes in your putting green. Insert golf cups or buckets into the holes, ensuring they are securely in place. Attach small flags to the cups, allowing you to easily spot the target and gauge your putting accuracy.
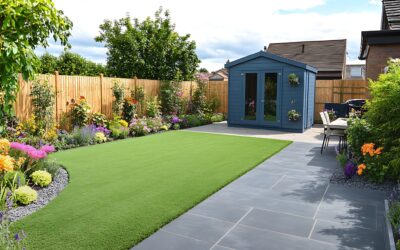
Finishing Touches:
Give your backyard putting green a polished appearance by adding border materials. Options include timber, pavers, or synthetic edging. Secure these materials around the edges of your putting green to contain the artificial grass and give it a professional look.
With this simple DIY guide, you can transform your backyard into a golfer’s paradise. Build the best putting greens and elevate your golf skills from home!